Lesson 11 · 15 minutes
The starter kit, step by step
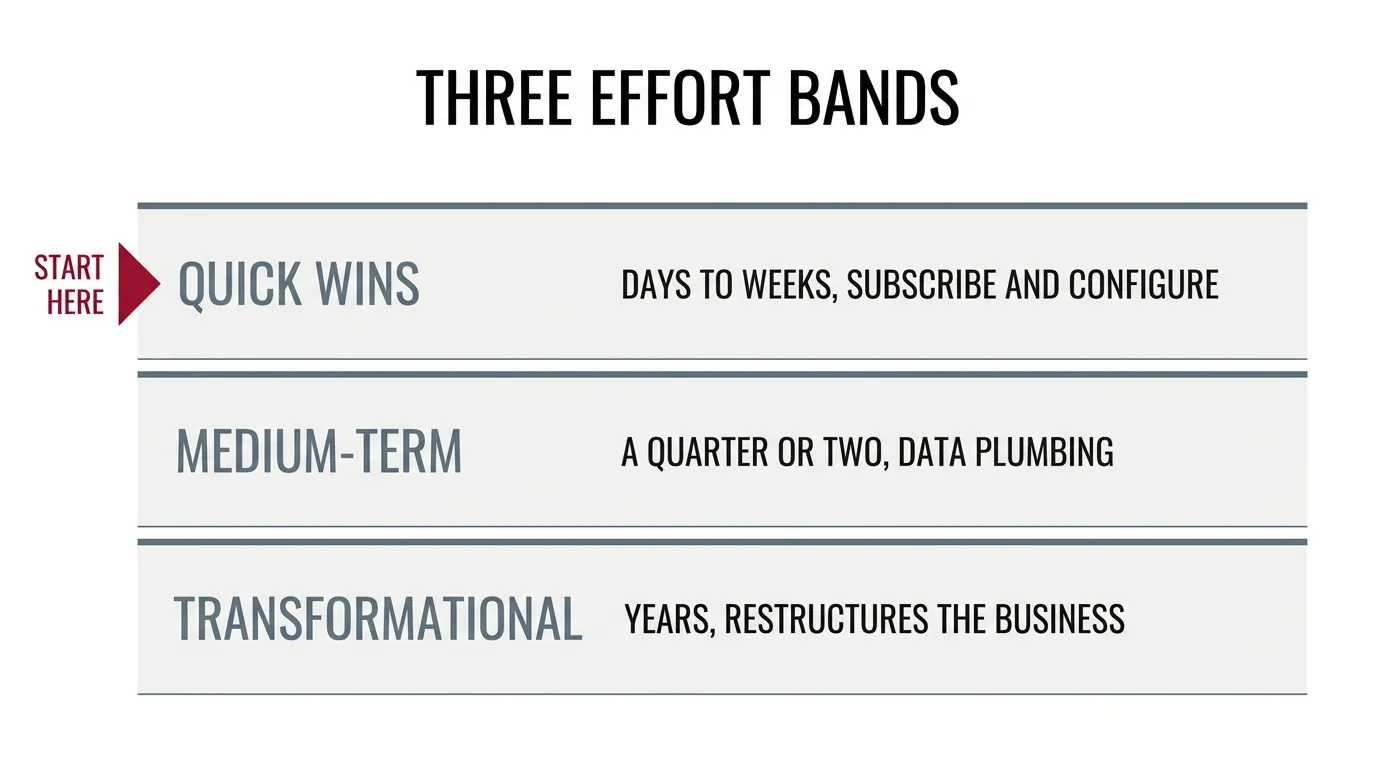
The use-case selection method: each AIRI pillar is one filter a candidate project must pass, and the Decision Engine ranks what survives. The three effort bands explained.
Quick win this week. Get the starter kit now: one email at this site’s guide page, no account, and the printable sheet is in your inbox. This lesson walks you through it.
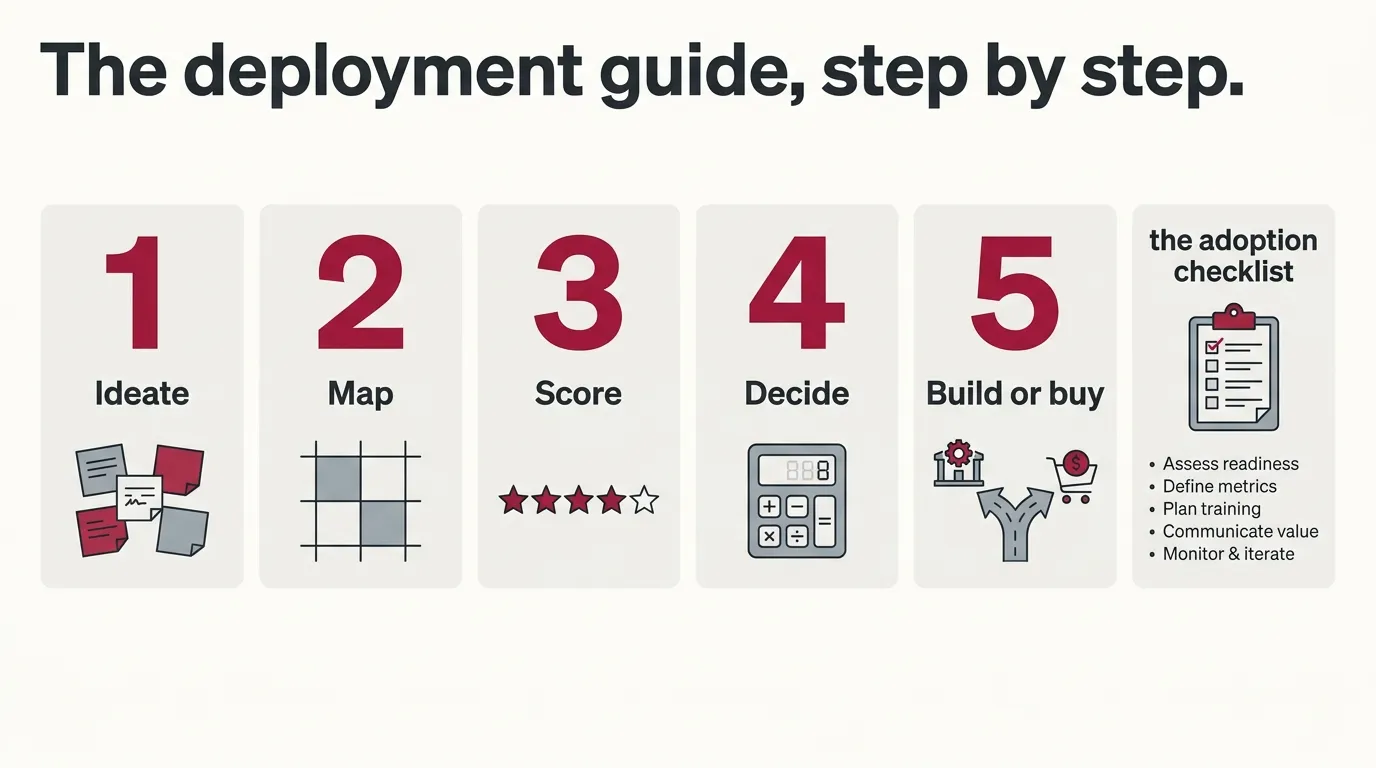
You have the method from part one: the five pillars from lesson four and the Decision Engine from lesson five. The SME AI Starter Kit is that method as a printable worksheet, and this lesson is its user guide. Five steps, one sheet, from no ideas to your first project.
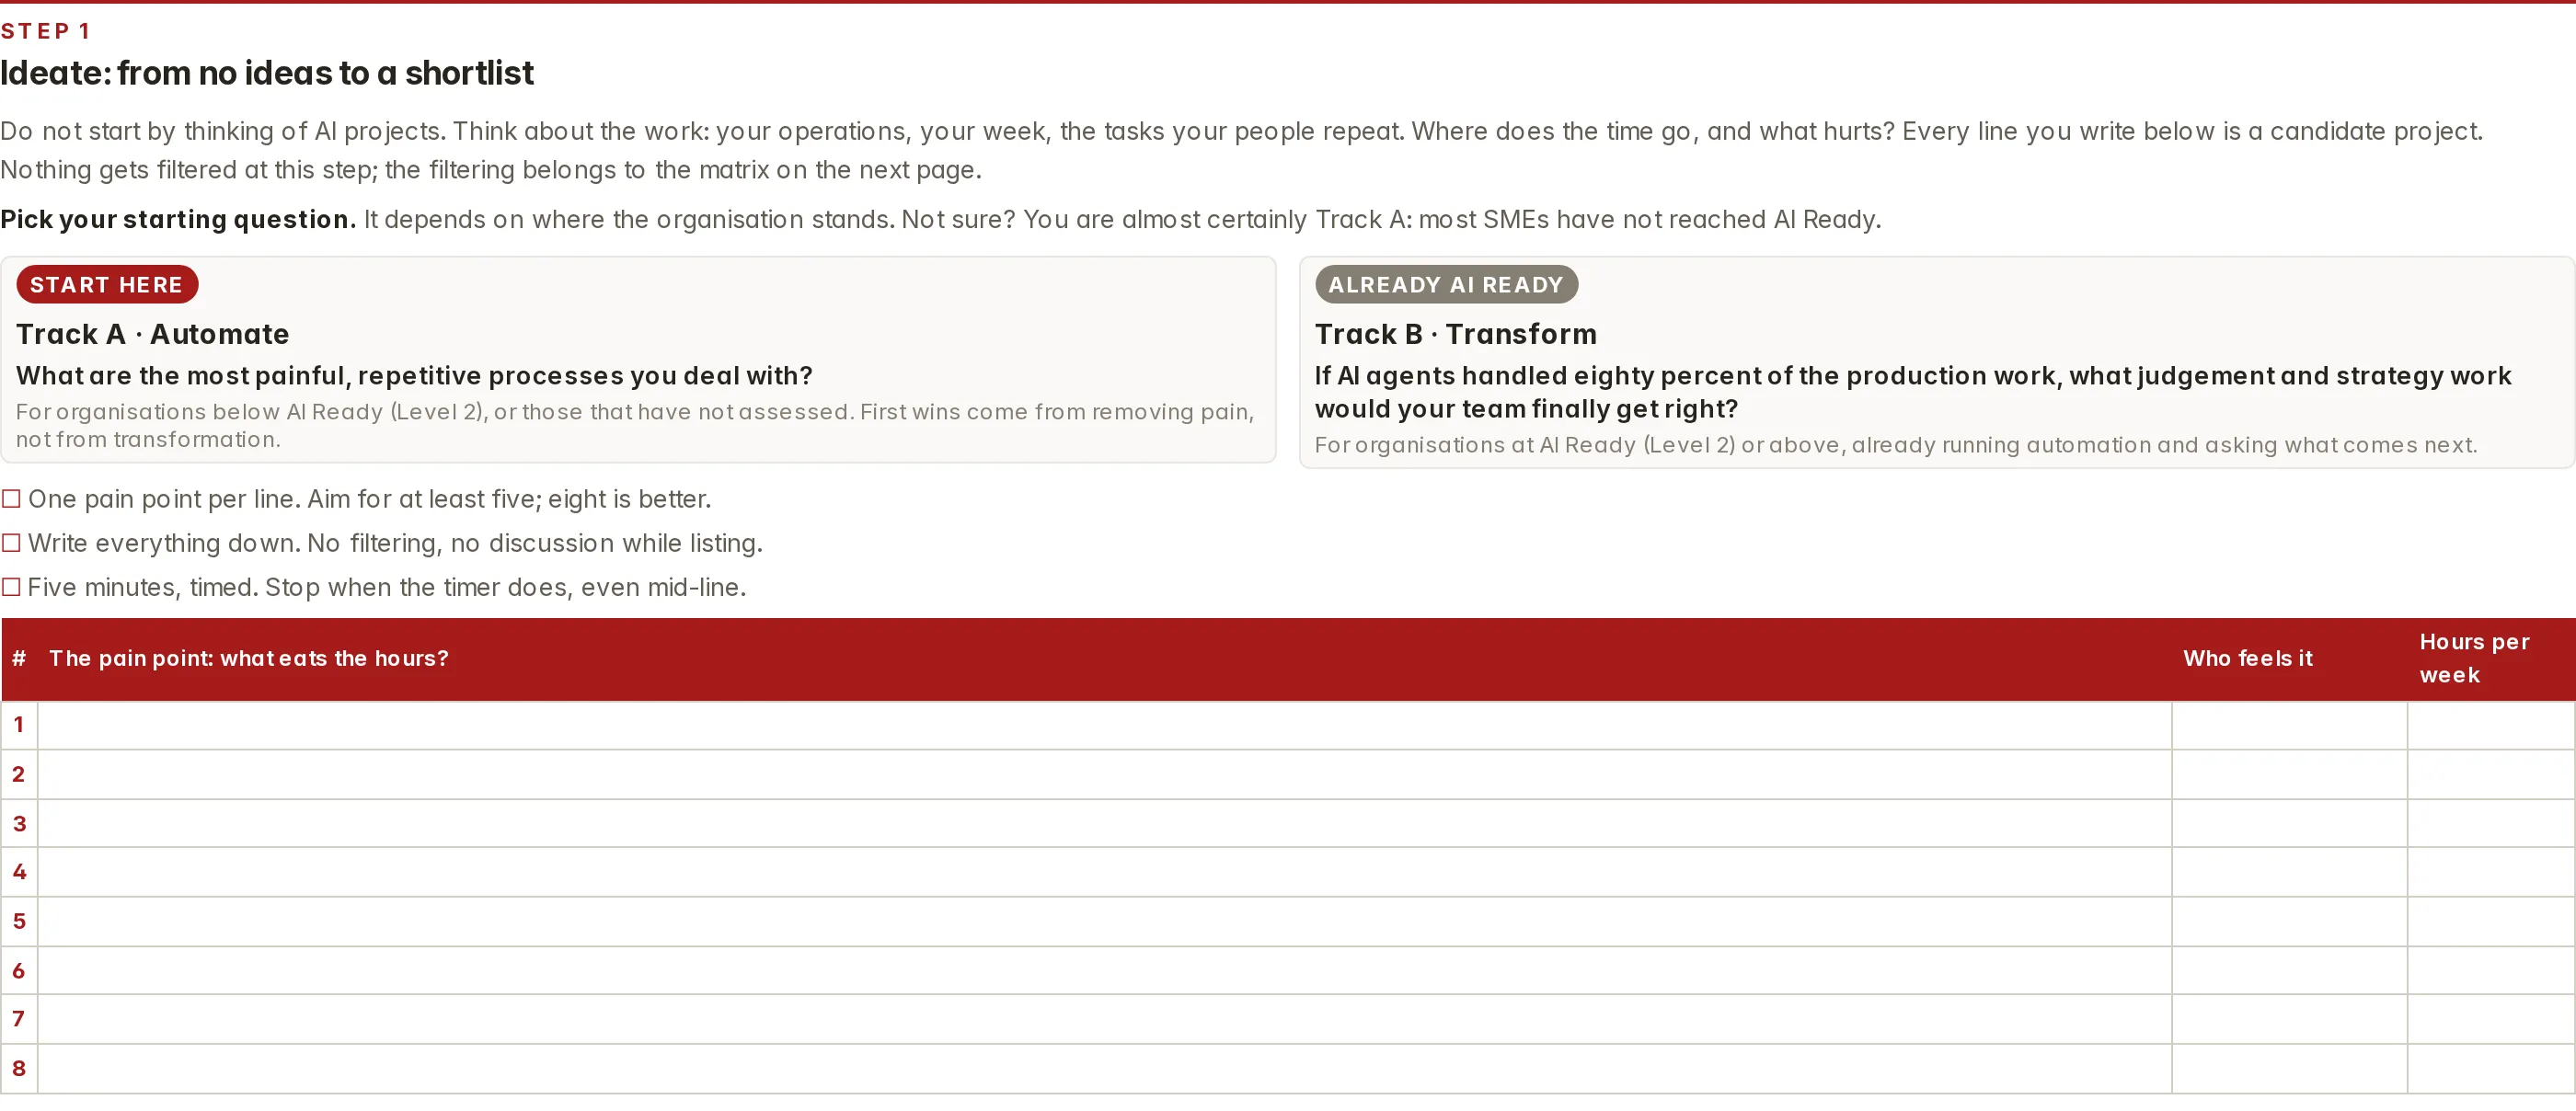
Step 1 · Ideate. Do not start by thinking of AI projects; think about the work. The sheet gives you two starting questions: below AI Ready, start from pain, the most painful, repetitive processes you deal with; already there, start from transformation, what your team would do if AI agents handled eighty per cent of the production work. One pain point per line, at least five, five minutes timed, no filtering while listing. Then cluster the lines into three to five clusters; a cluster is a process, not a department. The task you named in lesson one belongs on this sheet. Run dry? The use-case library on this site holds three hundred and eight real cases across twenty-five industries, catalogued by effort band.
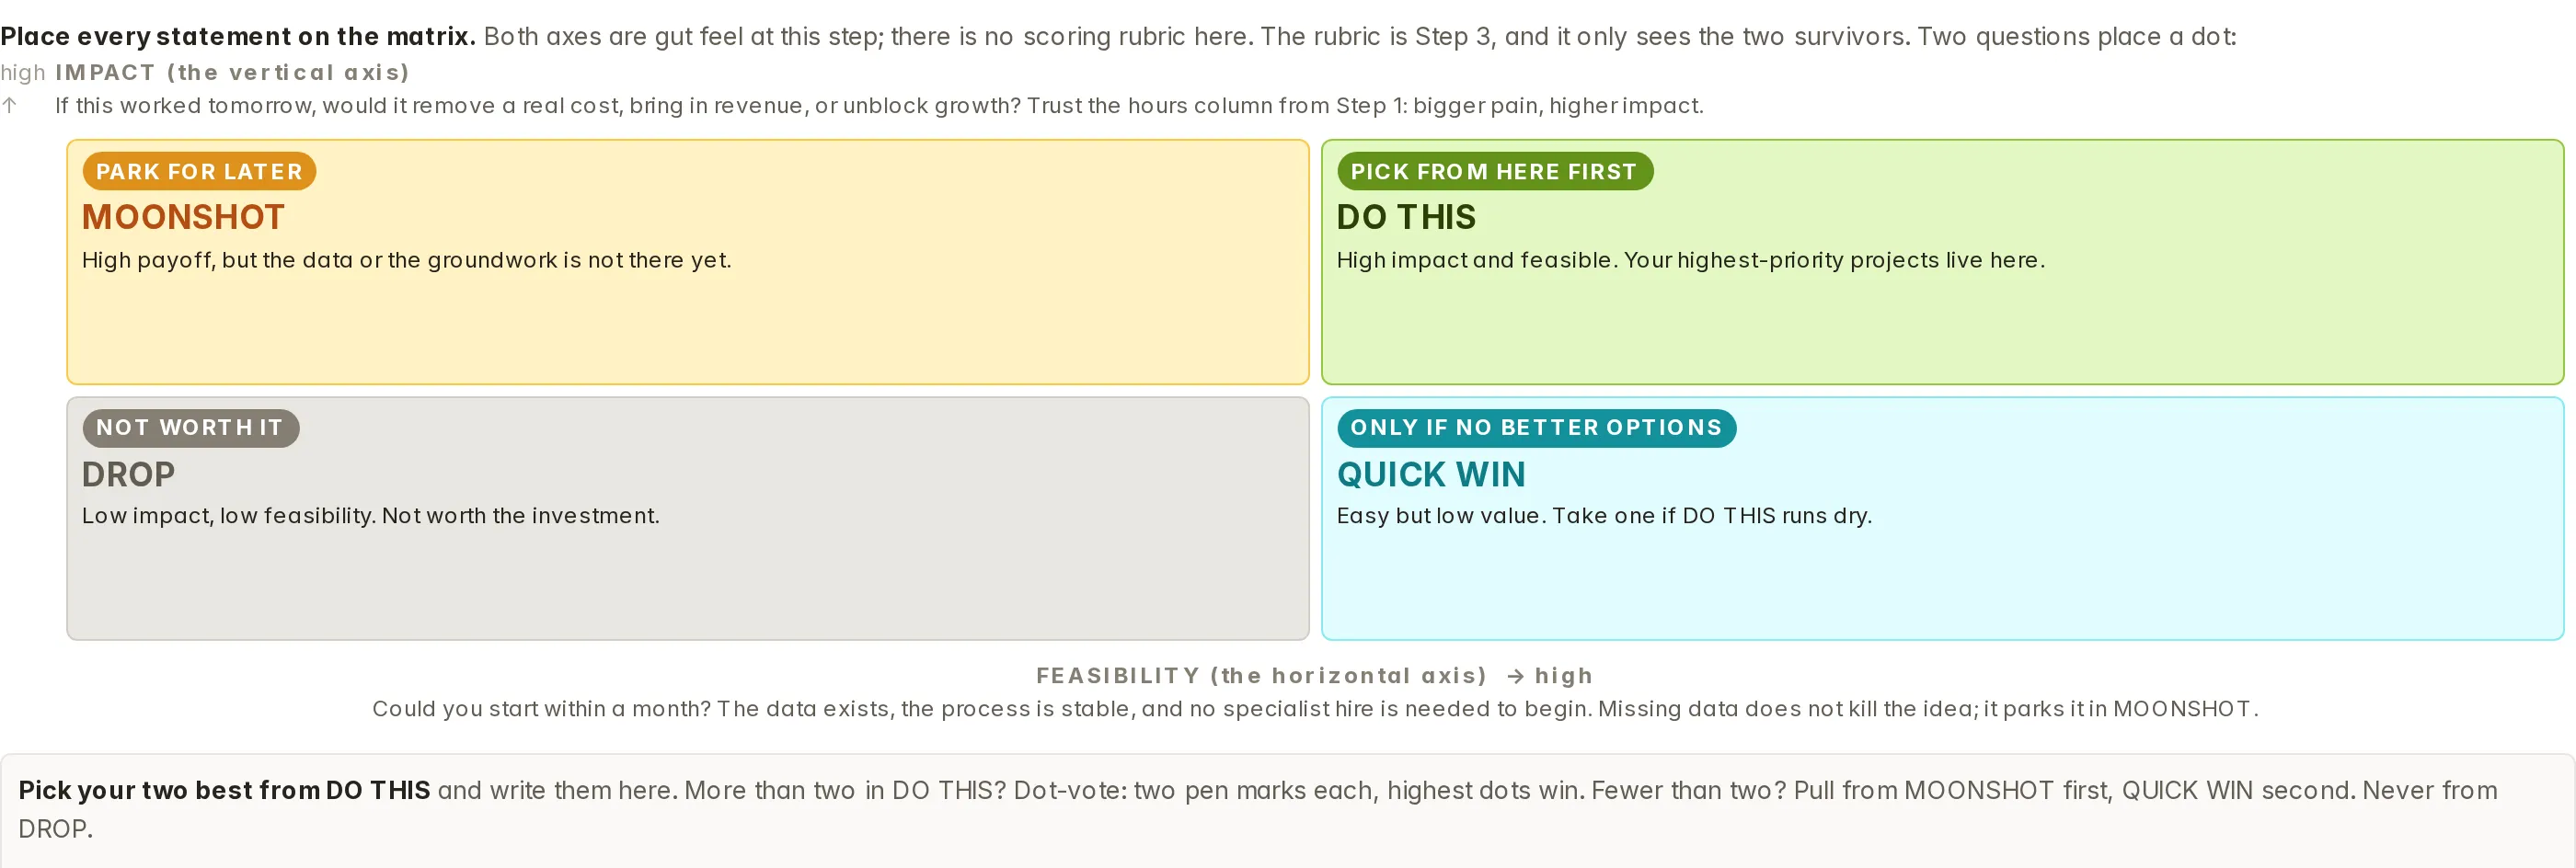
Step 2 · Map. Turn each cluster into a one-line project statement with the template on the sheet. No number, no statement: if the pain metric will not name itself, the cluster is not ready. Then place every statement on the 2×2 discovery matrix, impact against feasibility. Both axes are gut feel at this step; the rubric comes next and only sees the two survivors. Pick your two best from DO THIS. Fewer than two? Pull from MOONSHOT first, QUICK WIN second, never from DROP.
Step 3 · Score. Carry your two projects down the five-pillar rubric, one to five stars each, reading the anchor that fits this project; the anchors are behavioural, so tick the level you can defend out loud. Stars convert to level values, one star zero point zero zero through five stars five point zero zero. Five minutes per project. P2 is the gate: one star stops the project, two stars halves it with conditions, three or more is a green light.

Step 4 · Decide. The worksheet’s four lines do the arithmetic and land one DE Score per project, out of twenty. Read the result the way lesson five taught: anything the gate zeroed is eliminated, rank the rest, tiebreak on P1. The first project has the highest AIRI DE score. The project with the lower DE score is not dead; it is next in line, with its weakest pillar named, which allows you to improve the pillar.

Step 5 · Build or buy. The guide closes with the fork. Buying means the eight questions from lesson thirteen, plus two actions before you sign: reference calls, and cutting the first use case small. Building means six steps from problem statement to ship and measure, which lesson twelve covers. And after the five steps, the adoption checklist keeps the programme on track from your first assessment to the six-month review; that is lesson fourteen’s territory.
The guide is the whole course on one printable sheet. The next two lessons cover the fork in practice: who builds, and how to vet them.
Try this. Download the guide tonight and run Step 1 with your team: five minutes, timed, one pain point per line. Cluster, then write two one-line project statements. If a pain metric will not name itself, the cluster is not ready; break it apart or pick another.